How to Cook an Arm Roast: Master the Art of Tender and Flavorful Beef
Want to impress your family and friends with a delicious and affordable meal? Look no further than the humble arm roast! This cut of beef, often overlooked, is a true hidden gem when it comes to flavor and tenderness. It’s surprisingly versatile, perfect for a weeknight dinner or a special occasion. Let’s dive into the art of cooking a perfect arm roast, revealing the secrets to achieving mouthwatering results.
Why Choose Arm Roast?
The arm roast, sometimes called a chuck roast or shoulder roast, comes from the shoulder area of the cow. This cut is known for its rich, beefy flavor and its ability to become incredibly tender when slow-cooked. Unlike some leaner cuts, the arm roast has a good amount of marbling, adding to its juiciness. It’s also a more budget-friendly option than pricier cuts like tenderloin or ribeye. The versatility of the arm roast makes it a great choice for a variety of dishes, from traditional pot roast to flavorful braised meals.
Understanding Arm Roast Cuts
Before we get started, let’s talk about the different types of arm roasts. You’ll typically find both bone-in and boneless options. Choosing between the two depends on your preference.
Bone-in Arm Roast:
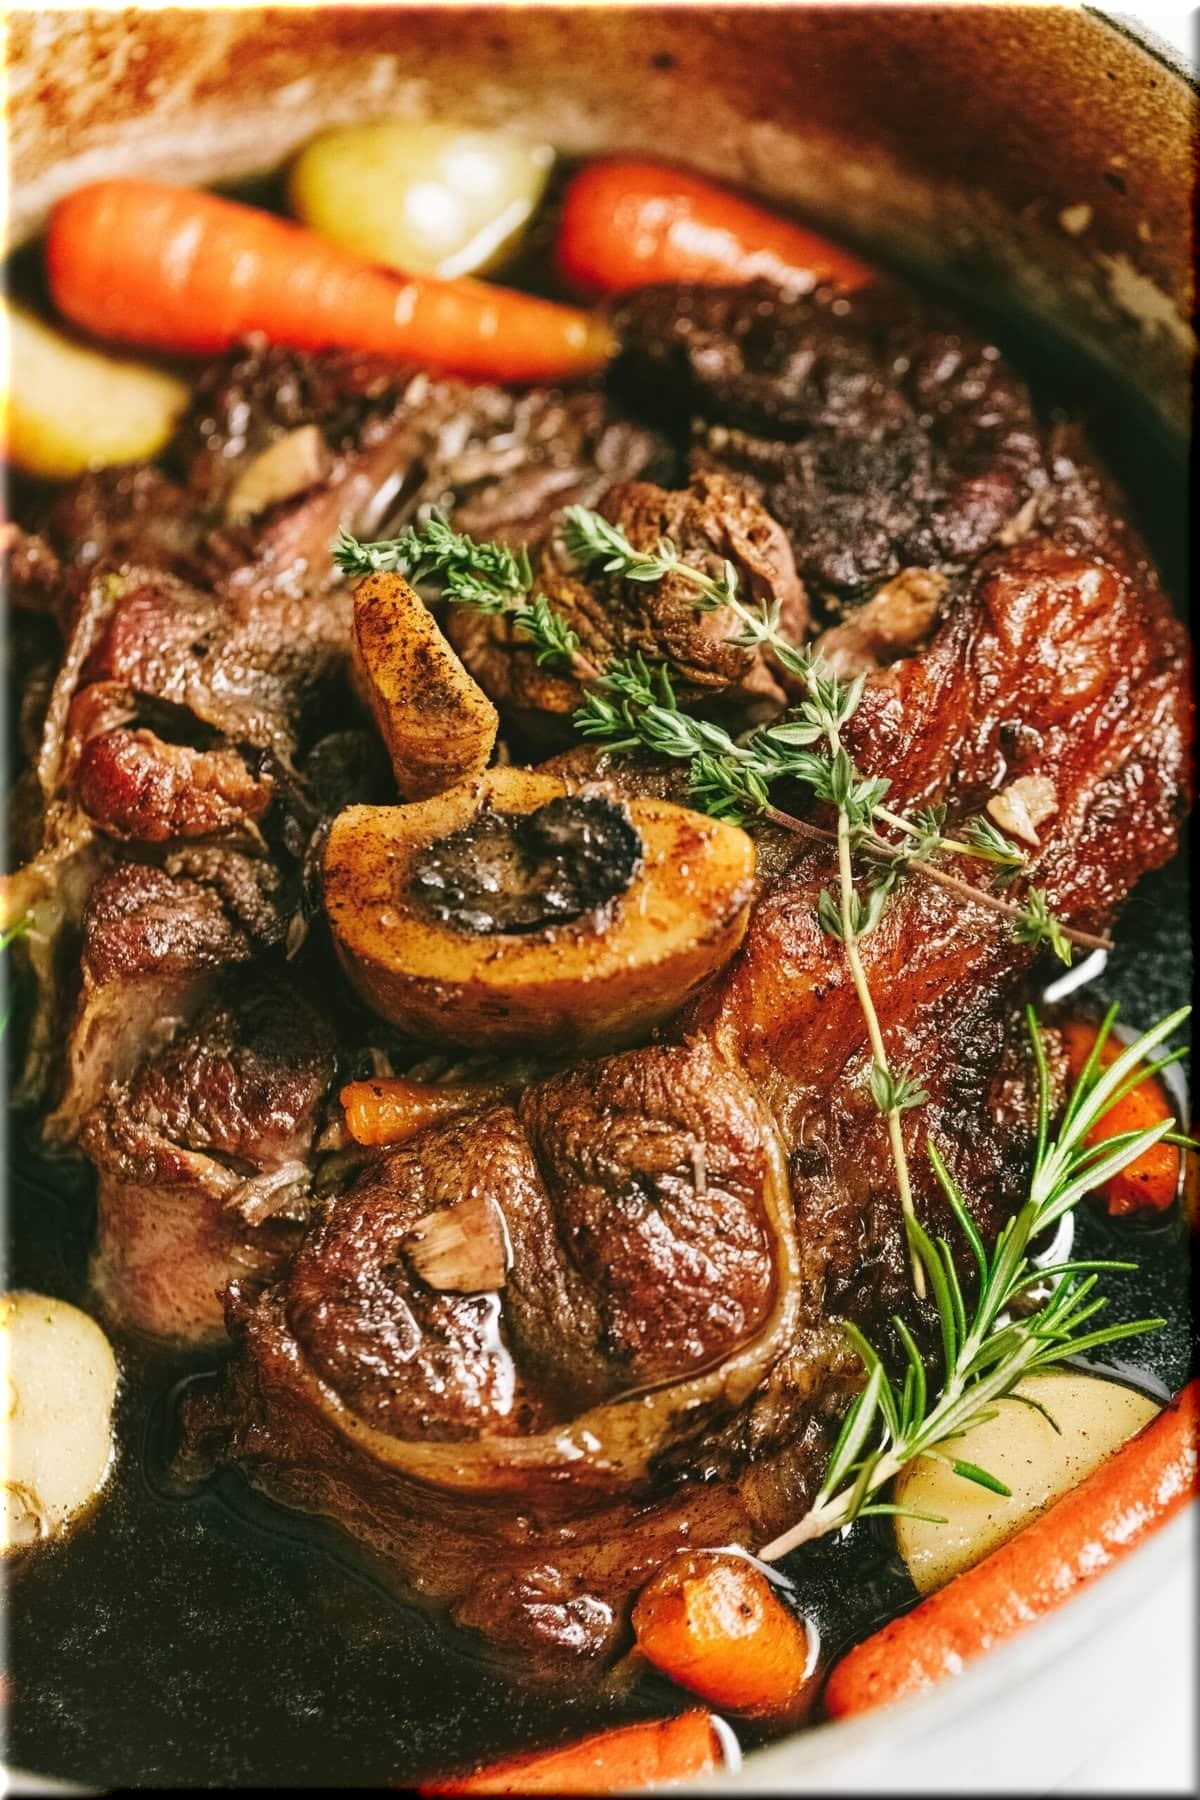
A bone-in arm roast offers a richer flavor due to the bone, It also tends to be more tender and flavorful because the bone helps retain moisture during cooking. The added bone also makes it easier to carve, with the meat pulling away naturally. However, it can be more challenging to sear and cook evenly.
Boneless Arm Roast:
A boneless arm roast is a bit easier to work with, particularly if you prefer a more even cook. It’s also easier to slice and serve. However, boneless roasts may lack the intense flavor of a bone-in roast.
Essential Tools & Ingredients
Before you begin cooking your arm roast, gather the following tools and ingredients:
- Large Dutch Oven or Pot: This is crucial for braising the roast, creating a flavorful and moist environment.
- Meat Thermometer: A must-have for ensuring your roast is cooked to the perfect level of doneness.
- Olive Oil and Butter: Used for searing the roast, adding richness and flavor.
- Red Wine: Cabernet Sauvignon is a classic choice for its robust flavor, but feel free to experiment with other dry red wines.
- Beef Stock: Adds depth and savory notes to the braising liquid.
- Garlic: A key aromatic ingredient that enhances the flavor of the roast.
- Fresh Herbs: Rosemary and thyme are classic pairings for beef, but don’t hesitate to try other herbs like oregano or bay leaves.
- Salt and Pepper: Essential seasonings for enhancing the roast’s natural flavor.
Step-by-Step Guide to Cooking an Arm Roast
Now, let’s get down to the nitty-gritty of cooking a perfect arm roast. Follow these steps, and you’ll be rewarded with a tender and flavorful meal.
Preparation
- Season the roast: Generously season the arm roast with salt and pepper. Don’t be shy with the seasoning, as it’s essential for flavor.
- Sear the roast: Heat a large Dutch oven or pot over medium-high heat. Add a tablespoon of olive oil and a tablespoon of butter. Sear the roast on all sides, ensuring a beautiful brown crust develops. This browning creates a flavorful base for the braising process.
- Brown the garlic: Reduce the heat to low, add the smashed garlic cloves, and cook for 1-2 minutes, stirring frequently to prevent burning.
Braising
- Add the red wine: Pour in the red wine, scraping up any browned bits from the bottom of the pot. This will infuse the braising liquid with rich flavor.
- Reduce the wine: Bring the wine to a simmer and let it reduce slightly, allowing the alcohol to evaporate.
- Add the beef stock: Pour in the beef stock, ensuring the roast is submerged by at least an inch of liquid.
- Add the herbs: Place the sprigs of rosemary and thyme, along with the bay leaves, in the pot.
Oven Cooking
- Cover and bake: Place the lid on the Dutch oven or pot and transfer it to a preheated 300°F oven. Bake for 3-3.5 hours, or until the meat is fork-tender and the internal temperature reaches 203°F.
- Add vegetables (optional): About an hour before the roast is done, add large pieces of potatoes, carrots, or other root vegetables to the pot to create a one-pot meal.
- Rest the roast: Once the roast is cooked, remove it from the oven and let it rest for 15-20 minutes before carving. Resting allows the juices to redistribute, resulting in a more tender and flavorful roast.
Making the Most of Your Arm Roast
Your arm roast is now cooked to perfection! Let’s make the most of your hard work and enjoy the delicious results.
Carving
- Use a sharp carving knife to cut against the grain, creating thin and tender slices.
- Remove any bones and discard them.
Gravy
- Skim off any excess fat from the braising liquid.
- Bring the liquid to a simmer and thicken it with a cornstarch slurry (1 tablespoon of cornstarch mixed with 1/4 cup of cold water) to create a rich and flavorful gravy.
Serving Suggestions
- Serve your arm roast with a side of mashed potatoes, roasted vegetables, or a simple green salad.
- You can also use the leftover roast for sandwiches, soups, or salads.
FAQs About Cooking an Arm Roast
What if my arm roast is tough?
If your arm roast is tough, it may not have been cooked long enough. Continue braising the roast for another 30-60 minutes until it’s fork-tender.
How can I thicken the juices for gravy?
As mentioned previously, use a cornstarch slurry to thicken the juices into a rich gravy.
How long can I store leftovers?
Store leftover arm roast in an airtight container in the refrigerator for up to 4-5 days.
Can I freeze arm roast?
Yes, you can freeze cooked arm roast for up to 3 months. Thaw it in the refrigerator overnight before reheating.
Conclusion
Cooking an arm roast is a rewarding experience that unlocks the potential of this incredible cut of beef. With patience and the right techniques, you can create a meal that will impress even the most discerning palates. So gather your ingredients, follow these steps, and enjoy a truly delicious and satisfying meal. Don’t forget to share your culinary creations with us! Let me know your tips and tricks for cooking an arm roast in the comments section.


Comments (0)